3 Publishing
Be sure to configure your RStudio Connect account before attempting to publish with the RStudio IDE. See Section 2 for information on configuring your Connect account. If you do not have at least the Publisher role within Connect you can request permission to publish your own content via the link under “Info” on the “Content” page.
3.1 General Publishing Instructions
RStudio Connect accepts publishing Shiny applications, R Markdown documents, plots, graphs, websites, TensorFlow models, and APIs. The blue publishing icon in the RStudio IDE indicates built-in support for publishing this piece of content.

You can find the blue publishing icon at the following locations:
- The upper right of the file editor
- The document viewer when viewing a document
- The embedded viewer when running a Shiny application
- The plots pane
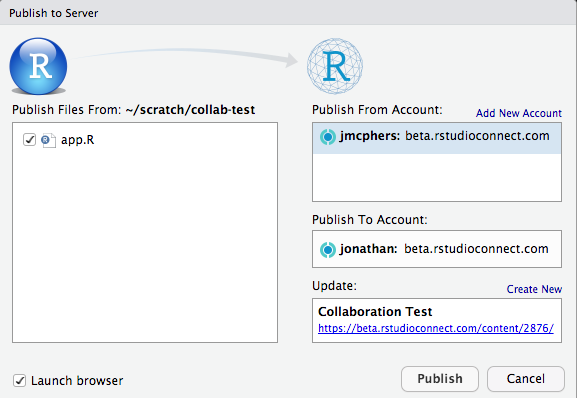
Click on this icon to open a publishing dialog where you can name your content and select additional files to include in the deployment. By default, RStudio will try to infer the data files and scripts are used in your content. This window lets you refine those file selections.
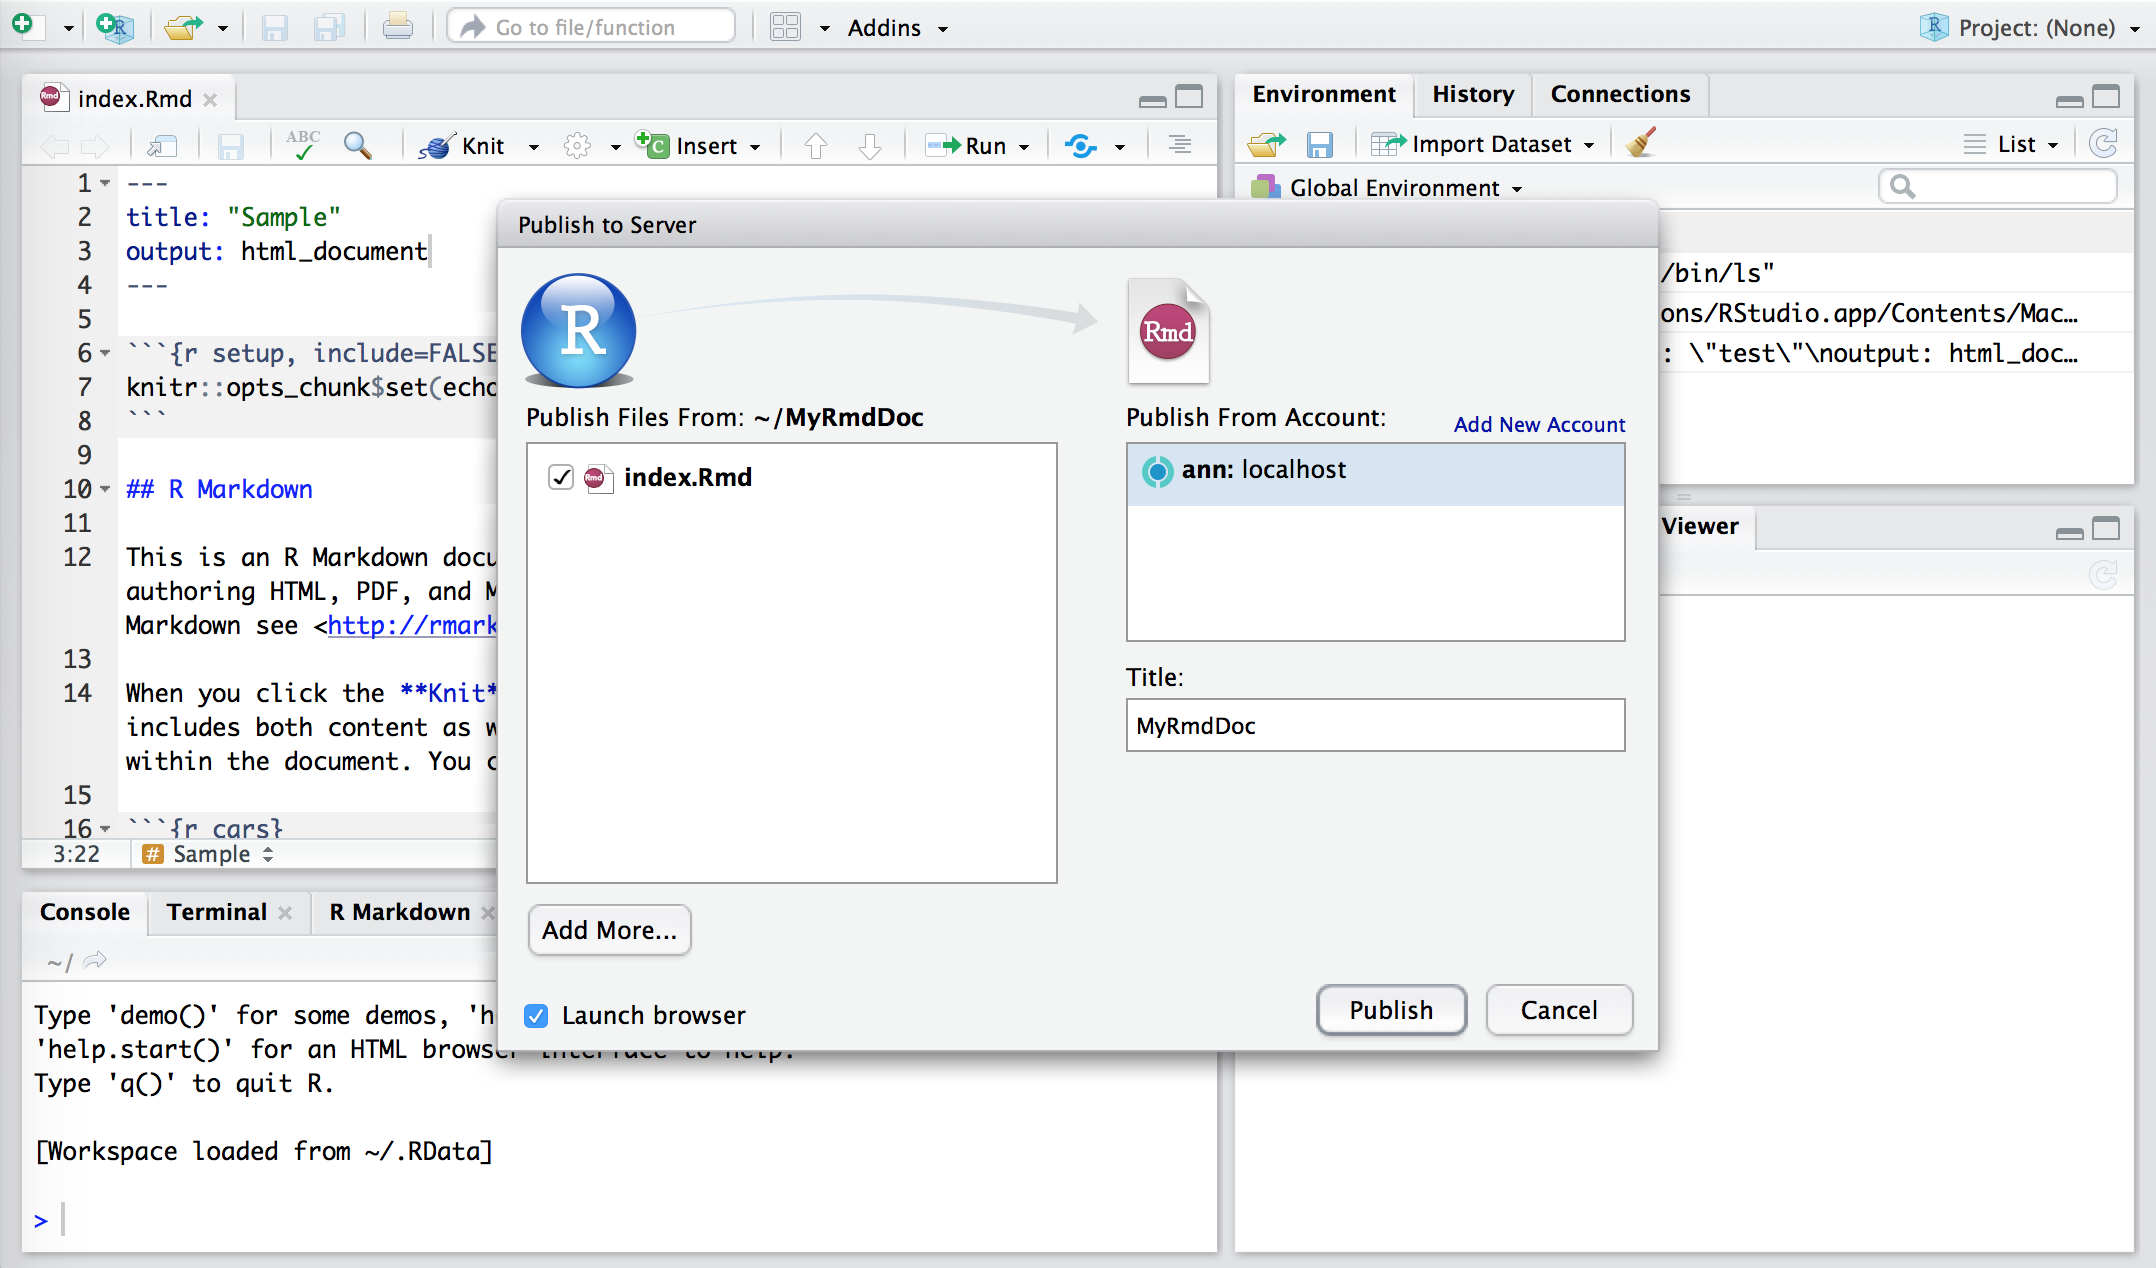
Most of the time, RStudio is able to determine automatically which files are needed to render your document on RStudio Connect. However, there are situations in which it will miss a file (for instance, if it isn’t referenced directly in your document). The Add More… button lets you add files to the bundle that will be sent to RStudio Connect so that they will be available on the server when your document is rendered. You can also use the resource_files field in your document’s YAML header to add additional files.
Deployed data files must be in the same directory as your Shiny
application or R Markdown document. Files stored elsewhere on your computer
(C:\Users\me\mydata.csv) will not be available on the remote server.
Click Publish after verifying your settings.
Your first deployment may take a few minutes, as RStudio Connect attempts to recreate the R library you use locally – referenced packages are downloaded and installed. These packages are cached on the server; subsequent deployments will be faster.
Not all of your IDE environment can be replicated on the server. Different operating systems or versions of R can occasionally make content behave differently. Package installation failures may require the installation of additional system libraries on RStudio Connect.
When the deployment completes, you’ll be taken to the content’s settings page in RStudio Connect.
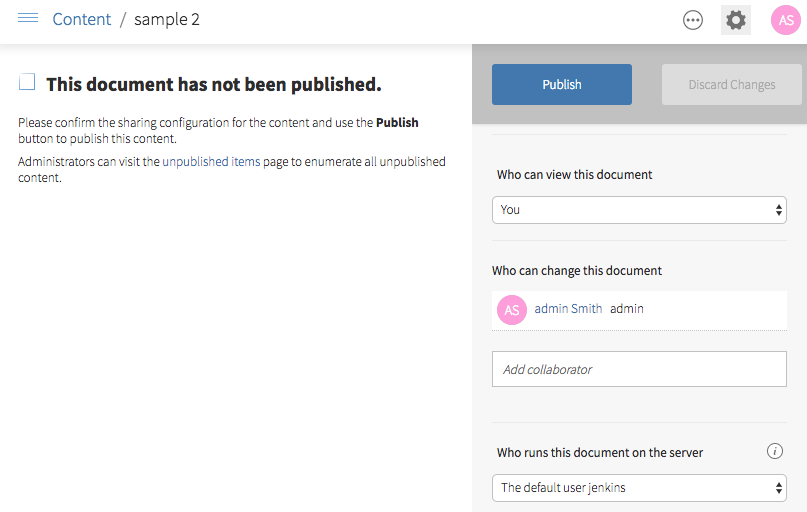
This page lets you verify the sharing and visibility of your content. Click Publish to confirm these settings.
Content cannot be viewed until it is published.
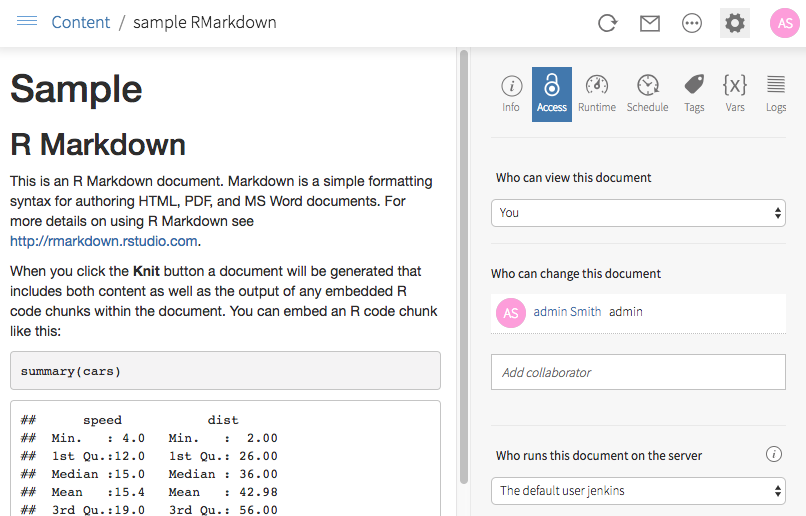
You should now see your deployed content – a rendered version of the document or a live instance of your Shiny application. The content is displayed within the context of RStudio Connect, and you are able to further configure settings for your content.
3.2 Collaboration
Some data products will have multiple authors and collaborators who are responsible for managing the content deployed to RStudio Connect. The first step to collaboration is sharing and working together on code. We recommend using a version control tool like Git to coordinate collaboration across many users. General information about getting started with git is available elsewhere.
The second step is collaborating on the published data product. To enable multiple users to maintain and update a single piece of content on RStudio Connect, all users should be listed as collaborators on the content.
When the content is published to RStudio Connect for the first time, an
rsconnect folder will be created in the directory that the content was
published from.
This
rsconnectfolder should be added and committed into version control. It does not contain any private or secure information. However, it does contain the URL for the RStudio Connect server and the content URL. This information allows future publications to easily target the same endpoint.
A collaborator, then, would clone or check out the code to their development
system and make whatever changes or improvements are necessary. When finished,
they will click the Publish button in the RStudio IDE, which will use the
rsconnect folder to determine where the content should be published. During
the publishing process, RStudio Connect checks that the authenticated user has
collaborator access for this piece of content.
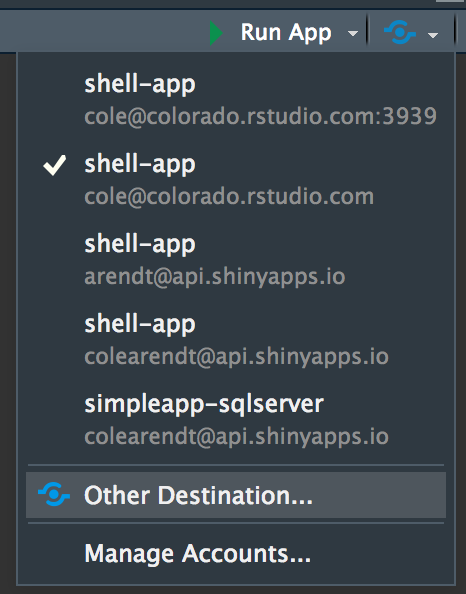
If the publisher wants to publish to a new location, this option is surfaced in the RStudio IDE as well. This will create a second deployment location on RStudio Connect and will leave the original content deployment unmodified. If you want to surface a single URL for your users despite publishing to a new location, keep in mind that you can assign a vanity URL to the original deployment location, then later assign it to a different piece of content on the server.
Keep in mind that package environments may be different on each developer’s
computer. The original author and a collaborator may be using different
computers, operating systems, or R versions with different package versions
installed. RStudio Connect will attempt to reproduce the environment of whoever
is publishing the content. Keeping developer environments in sync is not a
problem solved by RStudio Connect. Rather, the
packrat package and RStudio Server
Pro
address this problem more directly.
3.3 Publishing APIs
3.3.1 Publishing Plumber APIs
Plumber APIs have the following known restrictions:
- Push-button publishing from the IDE is not supported
- Server-side latency is not tracked
To get started with publishing Plumber API endpoints, create a
directory with a plumber.R file defining your endpoints. From the
console, execute the following, replacing <project-dir> with your
project’s directory:
> rsconnect::deployAPI(api = '<project-dir>')Once live, the content view will show you the results of your @get /
endpoint. If @get / is not defined, you will see a “Swagger UI”
presentation of your API. Swagger is an API documentation format;
Plumber can automatically generate a swagger.json definition for
your API by inspecting your endpoints. The “Swagger UI” page offers
an interactive portal into your API that allows you to test your
endpoints directly from the browser.
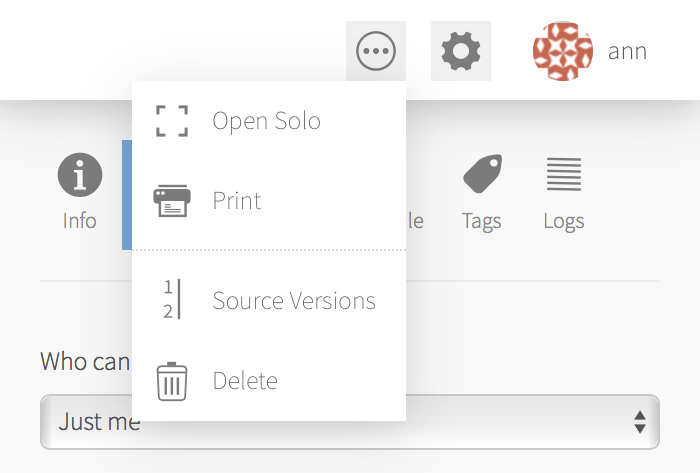
To make a call to your new API yourself, you’re going to need the
target URL. You can find it by looking at the bottom of the Access
tab in your API’s settings, or by clicking the ... menu in the
upper-right of the content view and select “Open Solo”.
The location should look like the following:
https://example.com/content/42/All calls can be made relative to this path. For example, if you want
to make a request to /volcano, the location in the above example
would be https://example.com/content/42/volcano, like so:
curl -XPOST https://example.com/content/42/volcano --data-binary '{ "line_plot": true }'If your API restricts access to a particular set of users, then RStudio Connect will require that incoming requests authenticate the user making the request. The best approach for authenticating a request targeting an API is to use API Keys 5.
Alternatively, if your server is configured to use proxied authentication, you should ask your IT Administrator about ways to make API calls through that proxy.
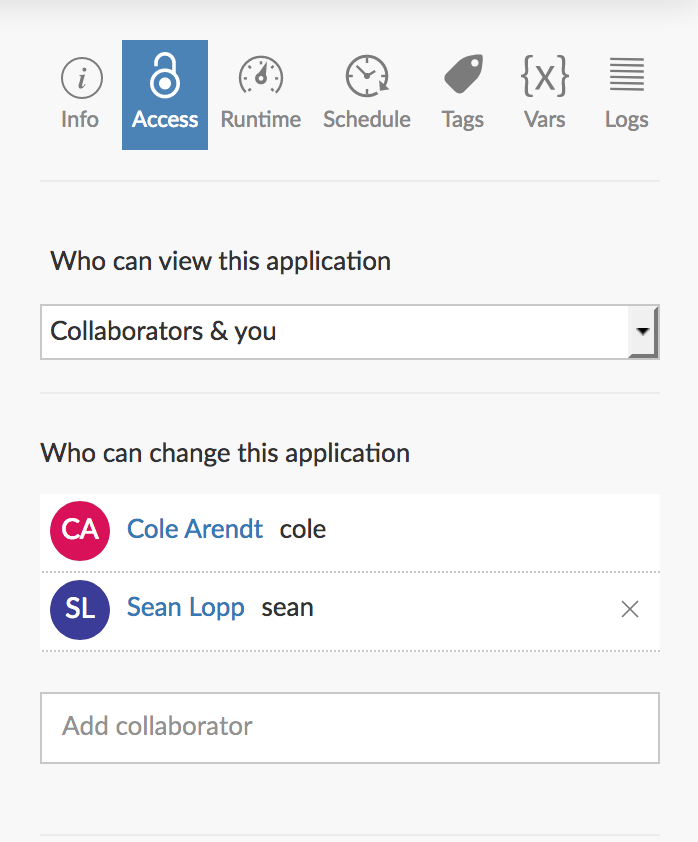
If you want to perform access control in your Plumber API itself, or if you want to allow anyone to access your API, open the application settings, then the “Access” tab, and set “Who can view this API” to “Anyone”.
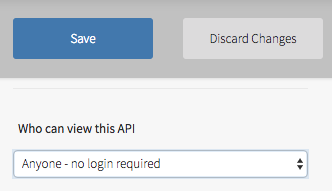
Some configurations may prohibit the “Anyone” access type.
A simple way to control access might be like the following:
#* @filter shared-secret-auth
keyAuth <- function(res, secret = NULL) {
    if(is.null(secret) || secret != 'mySecret') {
        res$status <- 401 # 401 UNAUTHORIZED
        list(error = "Authentication Failed")
    } else {
        plumber::forward()
    }
}
See the Plumber documentation for more information on @filter methods,
and how they can be skipped in your route with @preempt.
Security is hard. The example above might be good enough for some purposes, but is unsuitable in cases where you need multiple keys you can invalidate arbitrarily. In those cases, API Keys 5 would be preferable. Ask your IT Administrator for guidance if you need help choosing a suitable authentication scheme.
3.3.2 Publishing TensorFlow Model APIs
Note: TensorFlow Saved Models up to TensorFlow version 1.9.0 are supported. To find out what version of TensorFlow is installed, you can run the following in the R console:
tensorflow::tf_version().
If your installed TensorFlow version is greater than 1.9.0, you can install TensorFlow 1.9.0 by running the following in the R console:
tensorflow::install_tensorflow(version = "1.9.0")".
TensorFlow Model APIs are easy to deploy to RStudio Connect. Export your model:
# `library(tensorflow)` version
export_savedmodel(session, "mysavedmodel")

# `library(keras)` version
export_savedmodel(model, "mysavedmodel")
Then deploy it to RStudio Connect using the rsconnect package:
rsconnect::deployTFModel("mysavedmodel", account = "myaccount", server = "myserver")The home page on your new TensorFlow Model API will explain how it can be used. Much like Plumber, you can use RStudio Connect access controls and RStudio Connect API keys to secure your Model API, or to allow everyone to use it.
All TensorFlow Model API requests are mostly the same. For the following examples,
assume that your TensorFlow Model API is running open to the public at:
https://localhost:3939/content/12. Assume also that your TensorFlow model accepts
as input a 2-tensor (matrix) of floating point values with dimensions Infinity by 2.
You could call your TensorFlow Model API like so:
curl https://localhost:3939/content/12/serving_default/predict -XPOST --data-binary='\
{ \
"instances": [\
    [[5.4, 3.2]]\
]\
}'
Note that the TensorFlow Model API is strict about the number of dimensions passed
in instances. The instances array does not count towards tensor dimensions:
"instances": [[[2.4]]]is one instance of a 2-tensor (matrix) with dimensions 1x1"instances": [[[[2.3, 4.5],[5.6, 7.8]]]]is one instance of a 3-tensor with dimensions 1x2x2
Your TensorFlow Model API will return the predicted values as you configured it. For example, if your model was configured to respond with a 0-tensor (scalar) of floats, you might get the following:
{
    "predictions": [1.2]
}
The rstudio/tfdeploy repository contains some example scripts for building and exporting simple models, so you can try them before you upload some of your own. For example:
account <- "replace me with your username"
server <- "replace me with your server host"
# the `keras` package must be installed for models/keras-mnist.R
install.packages("keras")
devtools::install_github("rstudio/tfdeploy")
source(system.file("models","keras-mnist.R", package="tfdeploy"))
rsconnect::deployTFModel("keras-mnist", account = account, server = server)
3.4 Publishing Documents
When publishing documents to RStudio Connect, you may encounter other deployment options depending on your content. These options are discussed below.
3.4.1 Publishing Destination
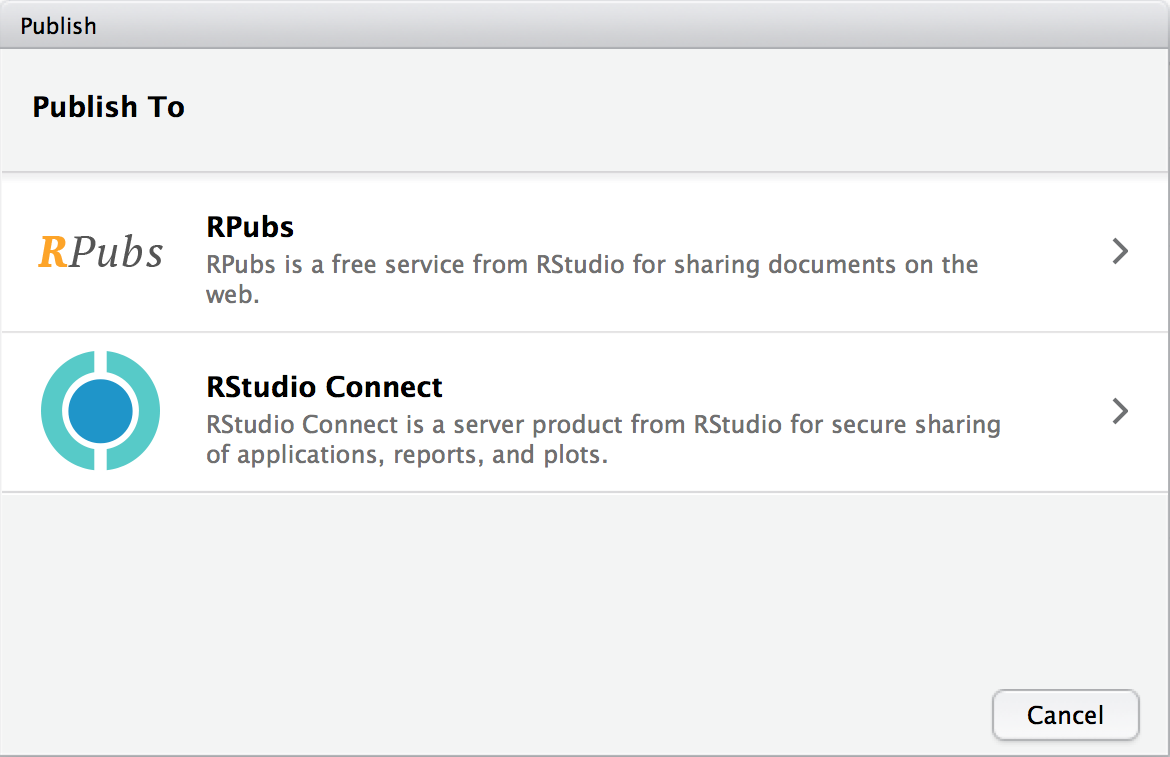
RPubs is a service for
easily sharing R Markdown documents. RPubs is not related to RStudio Connect,
and you should always choose “RStudio Connect” if you wish to publish
your content to RStudio Connect.
RPubs documents are (1) always public, (2) always self-contained, and (3) and cannot contain any Shiny content. You will see the choice to publish to RPubs if your document is self-contained and does not require Shiny. Some organizations want to prohibit publishing to RPubs to reduce the chance that sensitive data will be accidentally made public; publishing to RPubs (and shinyapps.io) can be disabled if desired using an RStudio Server option.
3.4.2 Publish Source Code
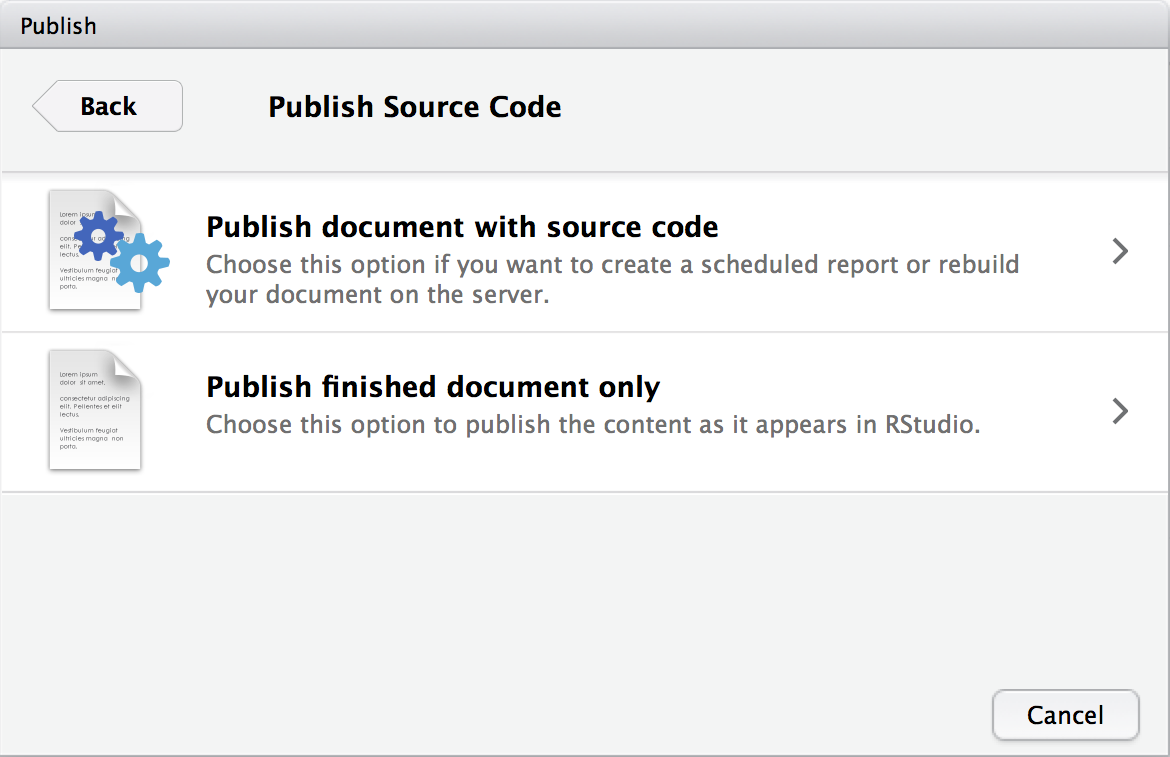
You will see these options when publishing from the document viewer.
Publishing the document with source code means that your R Markdown file
(.Rmd) will be deployed to RStudio Connect. This file is rendered (usually
to HTML) on the server.
Publishing only the finished document means that the HTML file you rendered locally is deployed to RStudio Connect.
We recommend publishing your documents with source code, as it allows you to re-render the document with RStudio Connect (on a weekly schedule, for example). If the document cannot be rendered by RStudio Connect because of files or data sources that are unavailable on the server, choose “Publish finished document only” so others can view your work.
3.4.3 Document Selection
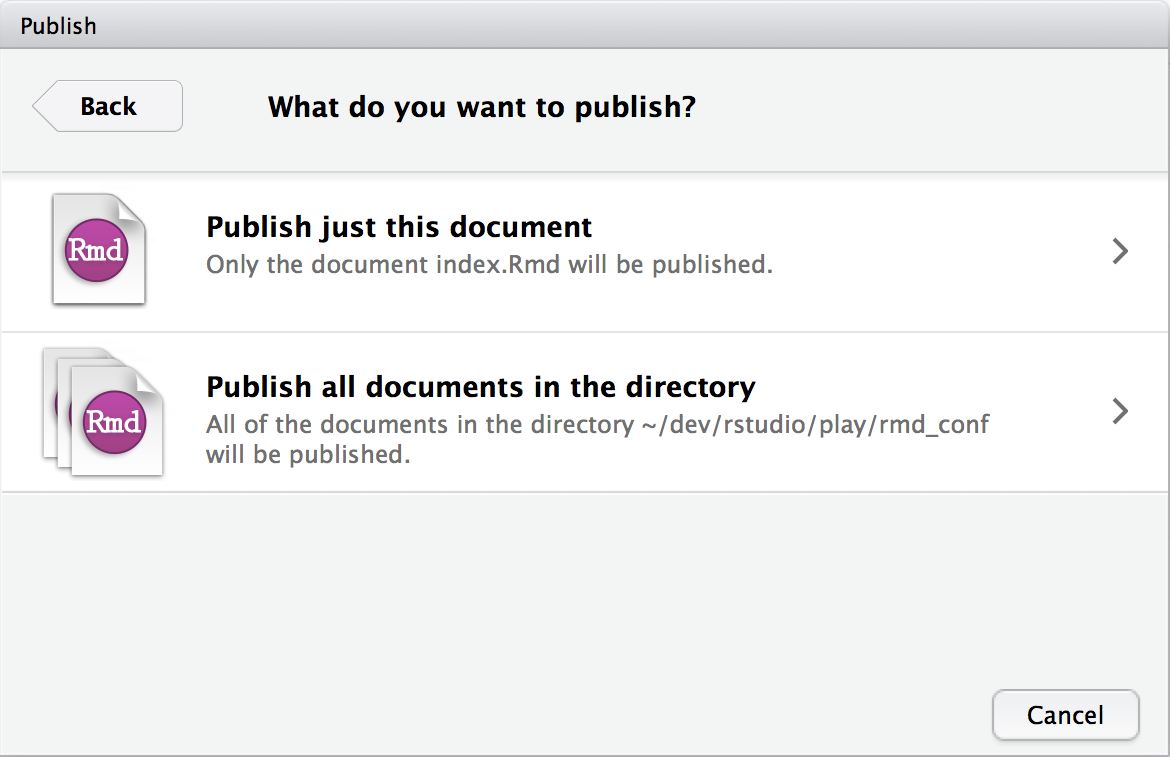
You will see these options when publishing an R Markdown document from a directory that contains more than one R Markdown document. It is possible to link together multiple R Markdown documents to make a multi-page document, so this is your chance to indicate that you’ve done this, and to publish all the documents at once. In most cases however you’ll want to publish just the current document.
3.5 Publishing Jupyter Notebooks
See the rsconnect-jupyter User Guide for details on how to publish Jupyter Notebooks to RStudio Connect.
3.6 Publishing Content that uses Python and R
The reticulate package allows users to create projects that contain R and Python code. Reticulate can be used across content types including Shiny applications, R Markdown documents, and plumber APIs.
RStudio Connect can deploy and host this content, and will automatically restore both the R and Python environments. To deploy:
Ensure your server administrator has enabled Python in the RStudio Connect configuration, and double check that your project uses a version of Python available on RStudio Connect.
Projects deployed to RStudio Connect should use the
RETICULATE_PYTHONenvironment variable and should not include any references toreticulate::use_python,reticulate::use_virtualenv, orreticulate::use_conda. See an example of switching toRETICULATE_PYTHON.Check to be sure you are using
rsconnectversion 0.8.13 or above:packageVersion('rsconnect')Follow the publishing instructions specific to the type of content you are deploying. During deployment, the list of necessary Python packages will be sent to Connect. Connect will install these packages into an isolated virtual environment, similar to the approach used for R packages.
3.6.1 Deployment Logs for Content with R and Python Dependencies
When you deploy this type of content, you will see additional logs in both the RStudio deploy pane and the RStudio Connect logs pane.
In RStudio, you will see something like the following in the deploy pane, typically after a series of log lines detailing the R environment restore:
Completed packrat build against R version: '3.4.4' Bundle requested Python
version 3.6.7; using /opt/Python/3.6.7/bin/python3.6 which has version 3.6.7
2019/03/05 22:31:15.585067606 Running with python "3.6.7 (default, Dec 11 2018,
22:03:50)  [GCC 4.8.4]" at /opt/Python/3.6.7/bin/python3.6
The first line signals that RStudio Connect has completed restoring the R environment. The second line indicates the version of Python discovered in RStudio as well as the matched version available on RStudio Connect. These lines will be followed by logging that indicates RStudio Connect’s progress in re-creating the Python environment. In some cases, these environments may be cached. For example:
2019/03/05 22:31:15.586051939 Using cached environment: eTZbLgG9EAv8_Nfcrq7LYw
2019/03/05 22:31:16.025098703 Packages in the environment: numpy==1.16.2,
pandas==0.24.1, python-dateutil==2.8.0, pytz==2018.9, six==1.12.0, Completed
python build against Python version: '3.6.7'
In RStudio Connect, you will see two log entries each with a unique Job ID, one entry will be titled “R snapshot restore” and the second will be titled “Python environment restore”.
3.6.2 Switching to RETICULATE_PYTHON
If your reticulate code currently uses use_conda, use_virtualenv, or
use_python, you’ll need to switch to using the RETICULATE_PYTHON environment
variable in order for push-button publishing to work. Any of the
reticulate::use functions can be replaced using the environment variable. For
example, if you are using a virtual environment located in the project subfolder
./env:
- Remove the code
reticulate::use_virtualenv("./env") - Create a .Renviron file in your project containing the line:
RETICULATE_PYTHON=./env/bin/python - Restart your R session
- You can use
reticulate::py_config()to confirm the correct environment is in use
After following these steps you will be able to push-button publish the content to RStudio Connect. You can continue project development using the environment variable, you do not need to undo the change to continue working on your code.
During push-button publishing, do NOT include the .Renviron file.